




How to ensure proper torque when installing a drive shaft?
 Jan 07, 2026|
Hey there! As a drive shaft supplier, I've seen firsthand how crucial it is to ensure proper torque when installing a drive shaft. It's not just about tightening a few bolts; it's about getting the right amount of force to keep everything running smoothly. In this blog, I'll share some tips and tricks on how to achieve that perfect torque every time.
Why Proper Torque Matters
First off, let's talk about why proper torque is so important. When you install a drive shaft, you're essentially connecting different parts of a machine together. If the torque is too low, the drive shaft might come loose over time, leading to vibrations, noise, and even damage to other components. On the other hand, if the torque is too high, you could end up stripping the threads, cracking the housing, or causing other serious problems.
Proper torque ensures that the drive shaft is securely fastened, which helps distribute the load evenly and reduces the risk of premature wear and tear. It also helps maintain the alignment of the drive shaft, which is essential for optimal performance. In short, getting the torque right is key to keeping your equipment running safely and efficiently.
Tools You'll Need
Before you start installing a drive shaft, you'll need to gather the right tools. Here are some of the essentials:
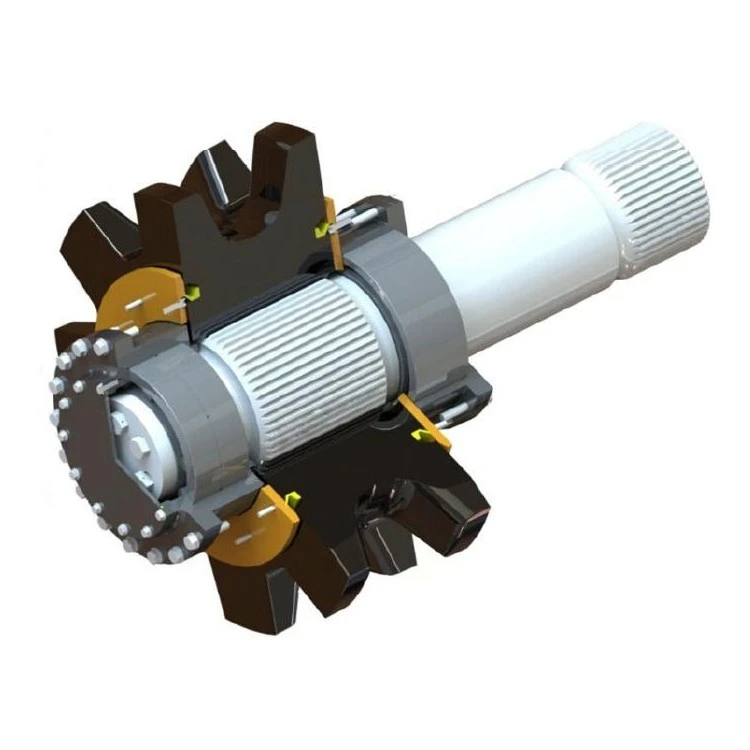

- Torque Wrench: This is the most important tool for ensuring proper torque. A torque wrench allows you to apply a specific amount of force to a bolt or nut, which helps you achieve the recommended torque settings. Make sure you choose a torque wrench that's appropriate for the size and type of bolts you'll be working with.
- Socket Set: You'll need a socket set to remove and install the bolts that hold the drive shaft in place. Make sure you have the right size sockets for the bolts on your drive shaft.
- Penetrating Oil: If the bolts are rusted or stuck, you might need to use some penetrating oil to loosen them up. Spray the oil on the bolts and let it sit for a few minutes before trying to remove them.
- Cleaning Supplies: Before you install the drive shaft, you'll need to clean the mating surfaces to ensure a good seal. Use a clean cloth and some solvent to remove any dirt, grease, or debris from the surfaces.
Step-by-Step Installation Process
Now that you have the tools you need, let's walk through the step-by-step process of installing a drive shaft and ensuring proper torque:
- Prepare the Work Area: Make sure the work area is clean and free of debris. You'll also want to make sure the equipment is turned off and the keys are removed to prevent any accidental start-ups.
- Remove the Old Drive Shaft: Use the socket set to remove the bolts that hold the old drive shaft in place. Be careful not to drop the bolts or lose any of the washers or spacers. Once the bolts are removed, carefully slide the old drive shaft out of the vehicle or equipment.
- Inspect the New Drive Shaft: Before you install the new drive shaft, take a few minutes to inspect it for any damage or defects. Make sure the splines are clean and free of debris, and check the u-joints for any signs of wear or play.
- Clean the Mating Surfaces: Use the cleaning supplies to clean the mating surfaces of the drive shaft and the transmission or differential. Make sure the surfaces are dry before you proceed.
- Apply Lubricant: Apply a small amount of lubricant to the splines of the drive shaft to help prevent wear and reduce friction.
- Install the New Drive Shaft: Carefully slide the new drive shaft into place, making sure the splines are properly aligned. Insert the bolts and washers, and hand-tighten them to hold the drive shaft in place.
- Torque the Bolts: Use the torque wrench to tighten the bolts to the recommended torque settings. Make sure you follow the manufacturer's instructions for the specific drive shaft you're installing. It's important to torque the bolts in a crisscross pattern to ensure even tightening.
- Check the Alignment: Once the bolts are tightened, check the alignment of the drive shaft to make sure it's straight and centered. You can use a straightedge or a laser alignment tool to check the alignment.
- Test the Drive Shaft: Start the vehicle or equipment and let it run for a few minutes to make sure the drive shaft is working properly. Listen for any unusual noises or vibrations, and check for any leaks or other issues.
Tips and Tricks
Here are some additional tips and tricks to help you ensure proper torque when installing a drive shaft:
- Use a Torque Chart: Different drive shafts require different torque settings, so it's important to use a torque chart to ensure you're applying the right amount of force. You can usually find a torque chart in the manufacturer's installation instructions or online.
- Don't Over-Torque: It's better to slightly under-torque the bolts than to over-torque them. Over-torquing can cause damage to the threads, the housing, or other components, which can lead to costly repairs.
- Re-Torque the Bolts: After the drive shaft has been in use for a short period of time, it's a good idea to re-torque the bolts to make sure they haven't loosened up. This is especially important if the equipment has been subjected to heavy use or vibrations.
- Replace the Bolts: If the bolts are damaged or worn, it's important to replace them with new ones. Using old or damaged bolts can increase the risk of the drive shaft coming loose.
- Seek Professional Help: If you're not comfortable installing a drive shaft or you're unsure about the torque settings, it's always a good idea to seek professional help. A qualified mechanic or technician can ensure that the drive shaft is installed correctly and that the torque is set to the proper specifications.
Conclusion
Ensuring proper torque when installing a drive shaft is essential for the safety and performance of your equipment. By following the steps outlined in this blog and using the right tools and techniques, you can achieve the perfect torque every time. Remember to always refer to the manufacturer's instructions and use a torque chart to ensure you're applying the right amount of force. If you have any questions or need further assistance, don't hesitate to contact us or visit our website at www.example.com. We're here to help you find the right drive shaft for your needs and ensure a smooth installation process.
References
We're a leading supplier of high-quality Drive Shafts and related components. Our Drive Shaft Assembly for Electric Rope Shovel is designed to meet the toughest demands of the industry. We also offer Handle Pin for Excavator to ensure the smooth operation of your equipment. If you're in the market for reliable drive shaft solutions, feel free to reach out to us for a detailed consultation and procurement discussion. We're committed to providing you with the best products and services to keep your machinery running at its best.